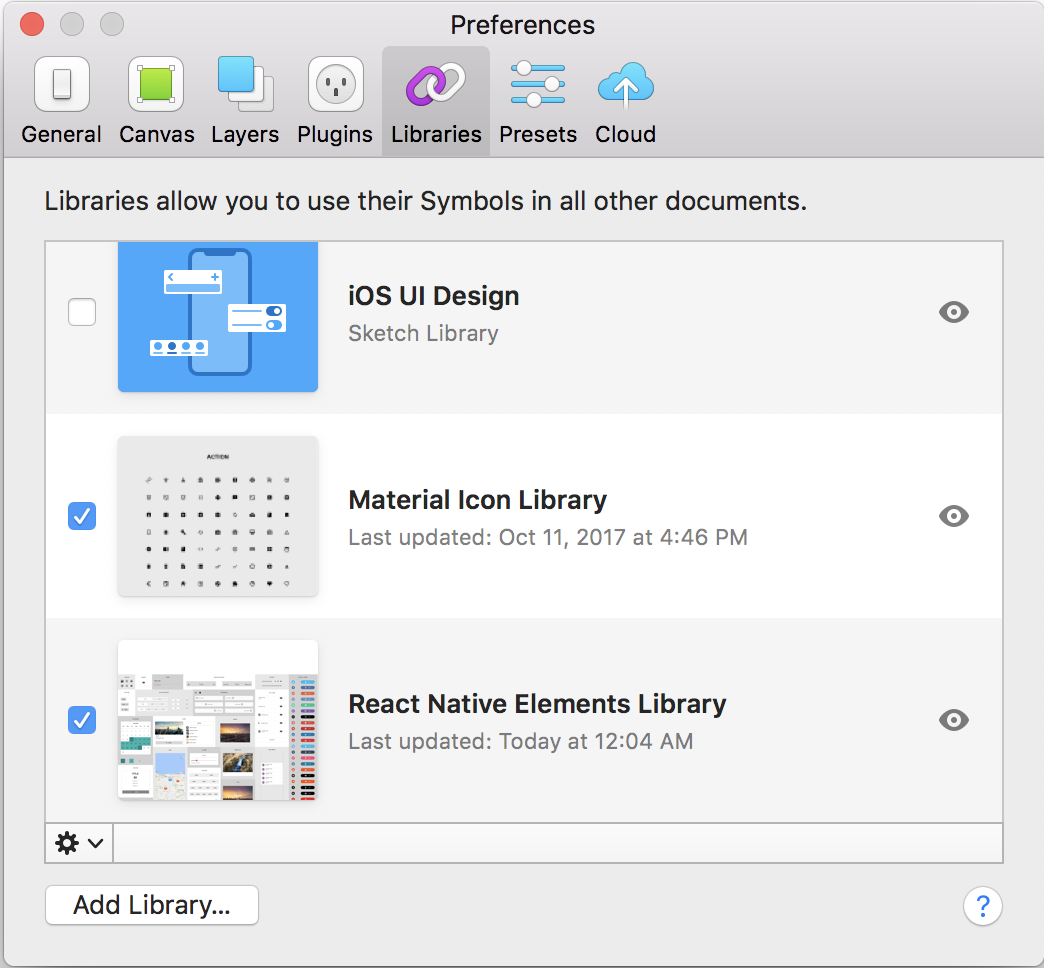
The first step to using an AppChef library is to import the library files. Open up Sketch with a new or existing file. Navigate to preferences under "Sketch" in the top left ( keyboard shortcut is cmd + , ). From there, click on the Libraries tab and then on Add Library... at the bottom. Navigate to the directory where you downloaded the AppChef library files and open them. You are now able to utilize the AppChef libraries!
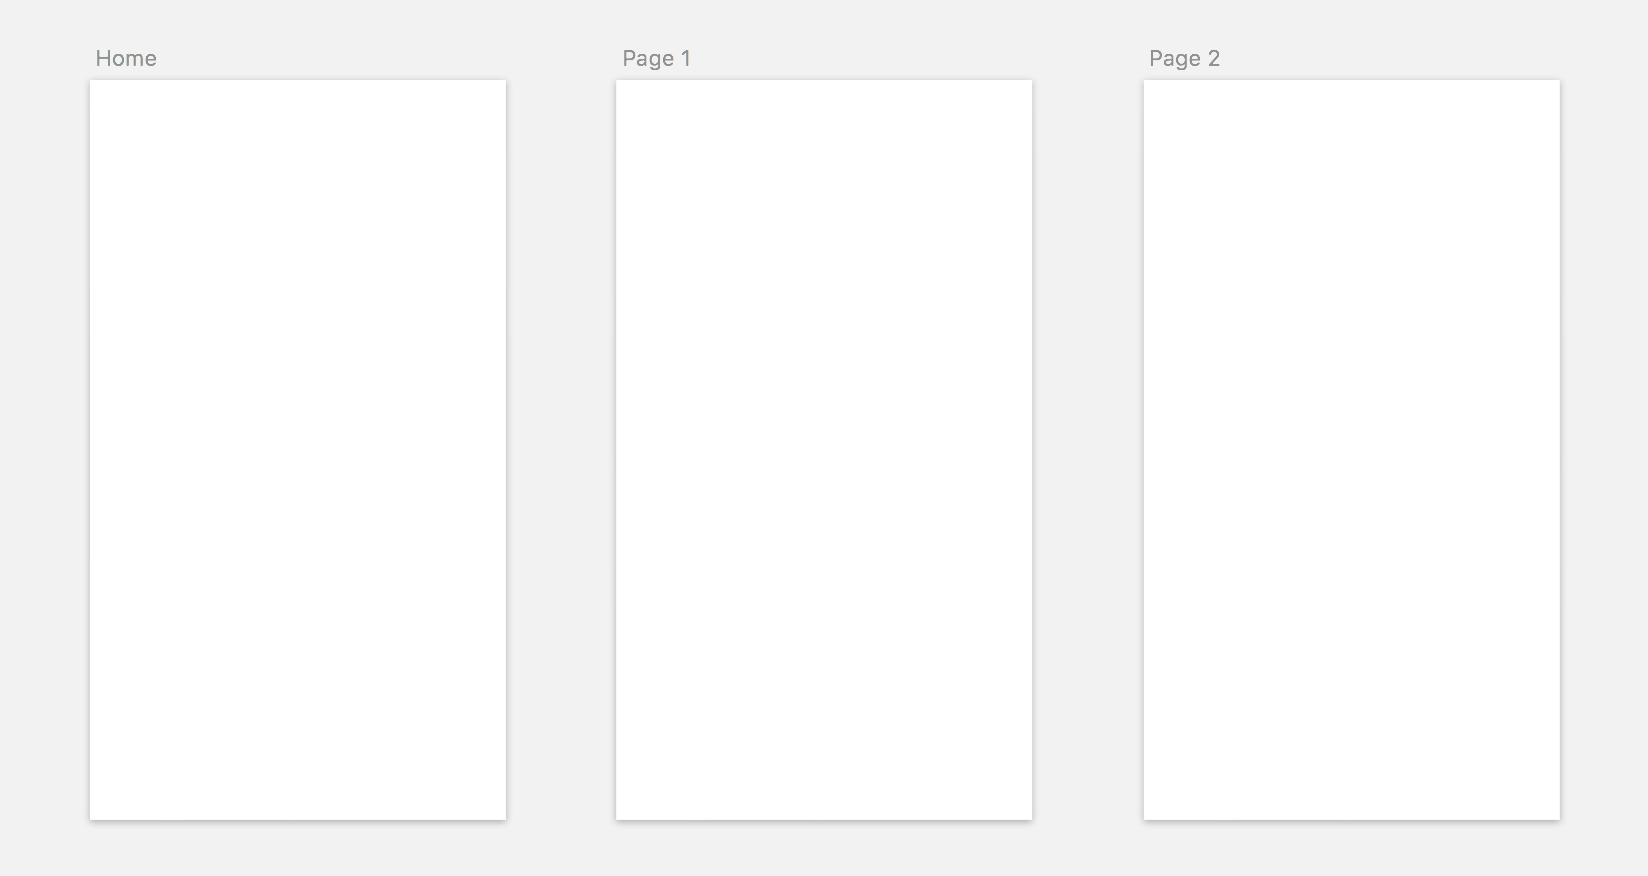
All AppChef libraries will have the symbols designed for use on an iPhone X sized artboard: with a width of 375px exactly and height of 812px minimum. When exported, the resulting app will dynamically adjust its components corresponding to your devices screen size. Whichever artboard you have that is named "Home" will serve as the first screen of your application. This is the only artboard that will need a specific name.
Note: If no "Home" artboard is detected, you will see a list of all pages in your application when viewing it.
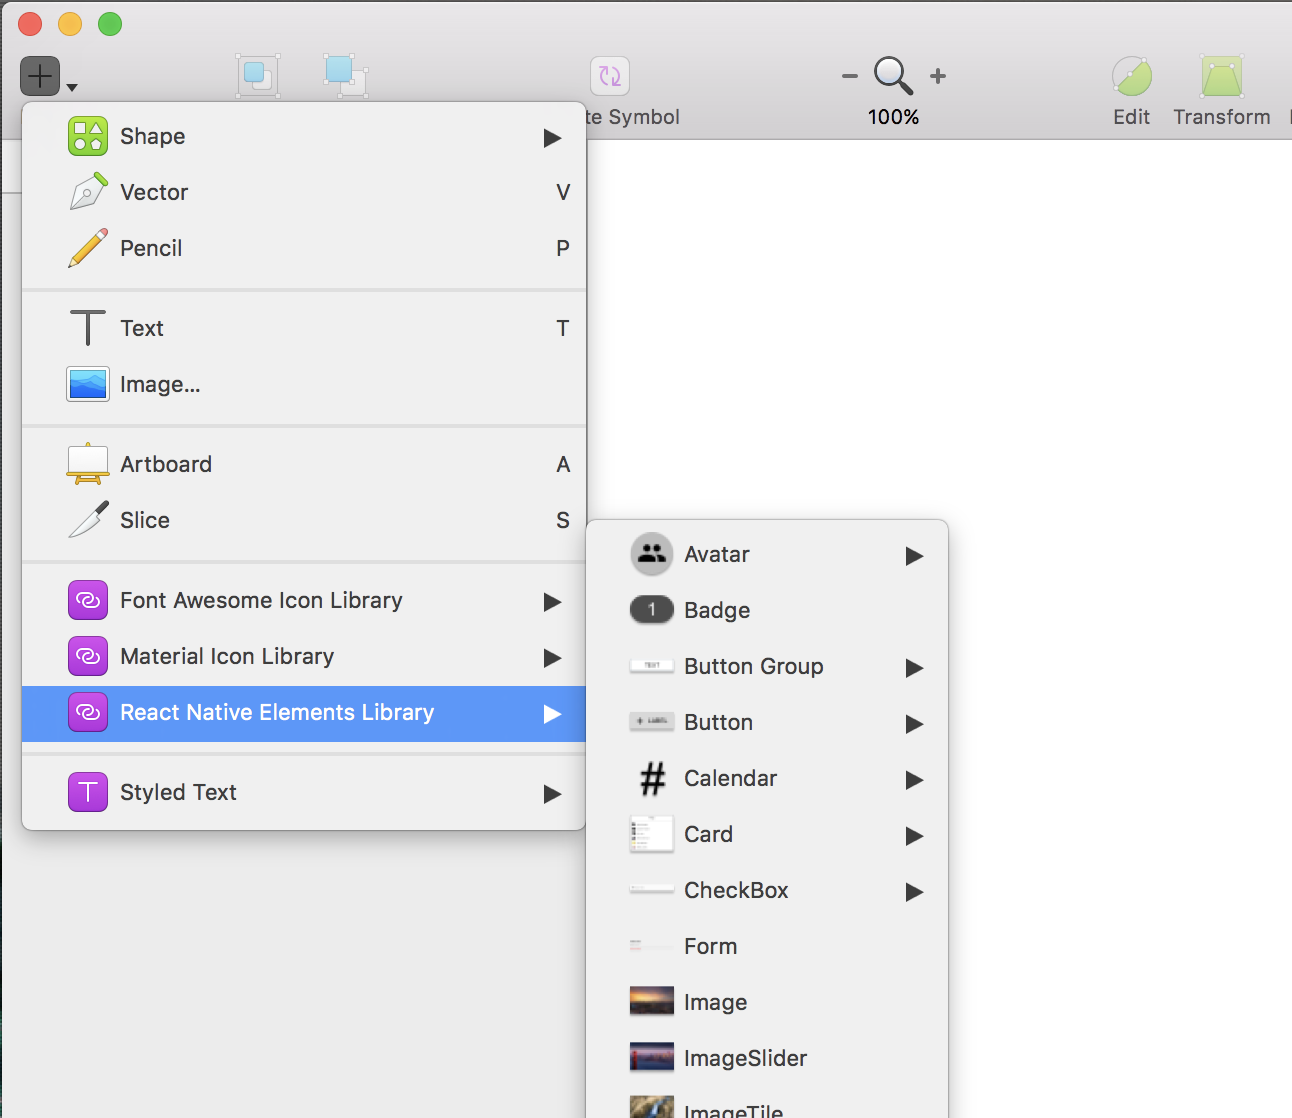
From this point, you can start adding symbols from our library by like you usually would – through the Insert button at the top left. In the drop down you will see the list of libraries that you linked at the bottom. Hover over the library you would like to use, and then navigate to the symbol you would like to use. Then simply select it and drop it into your file!
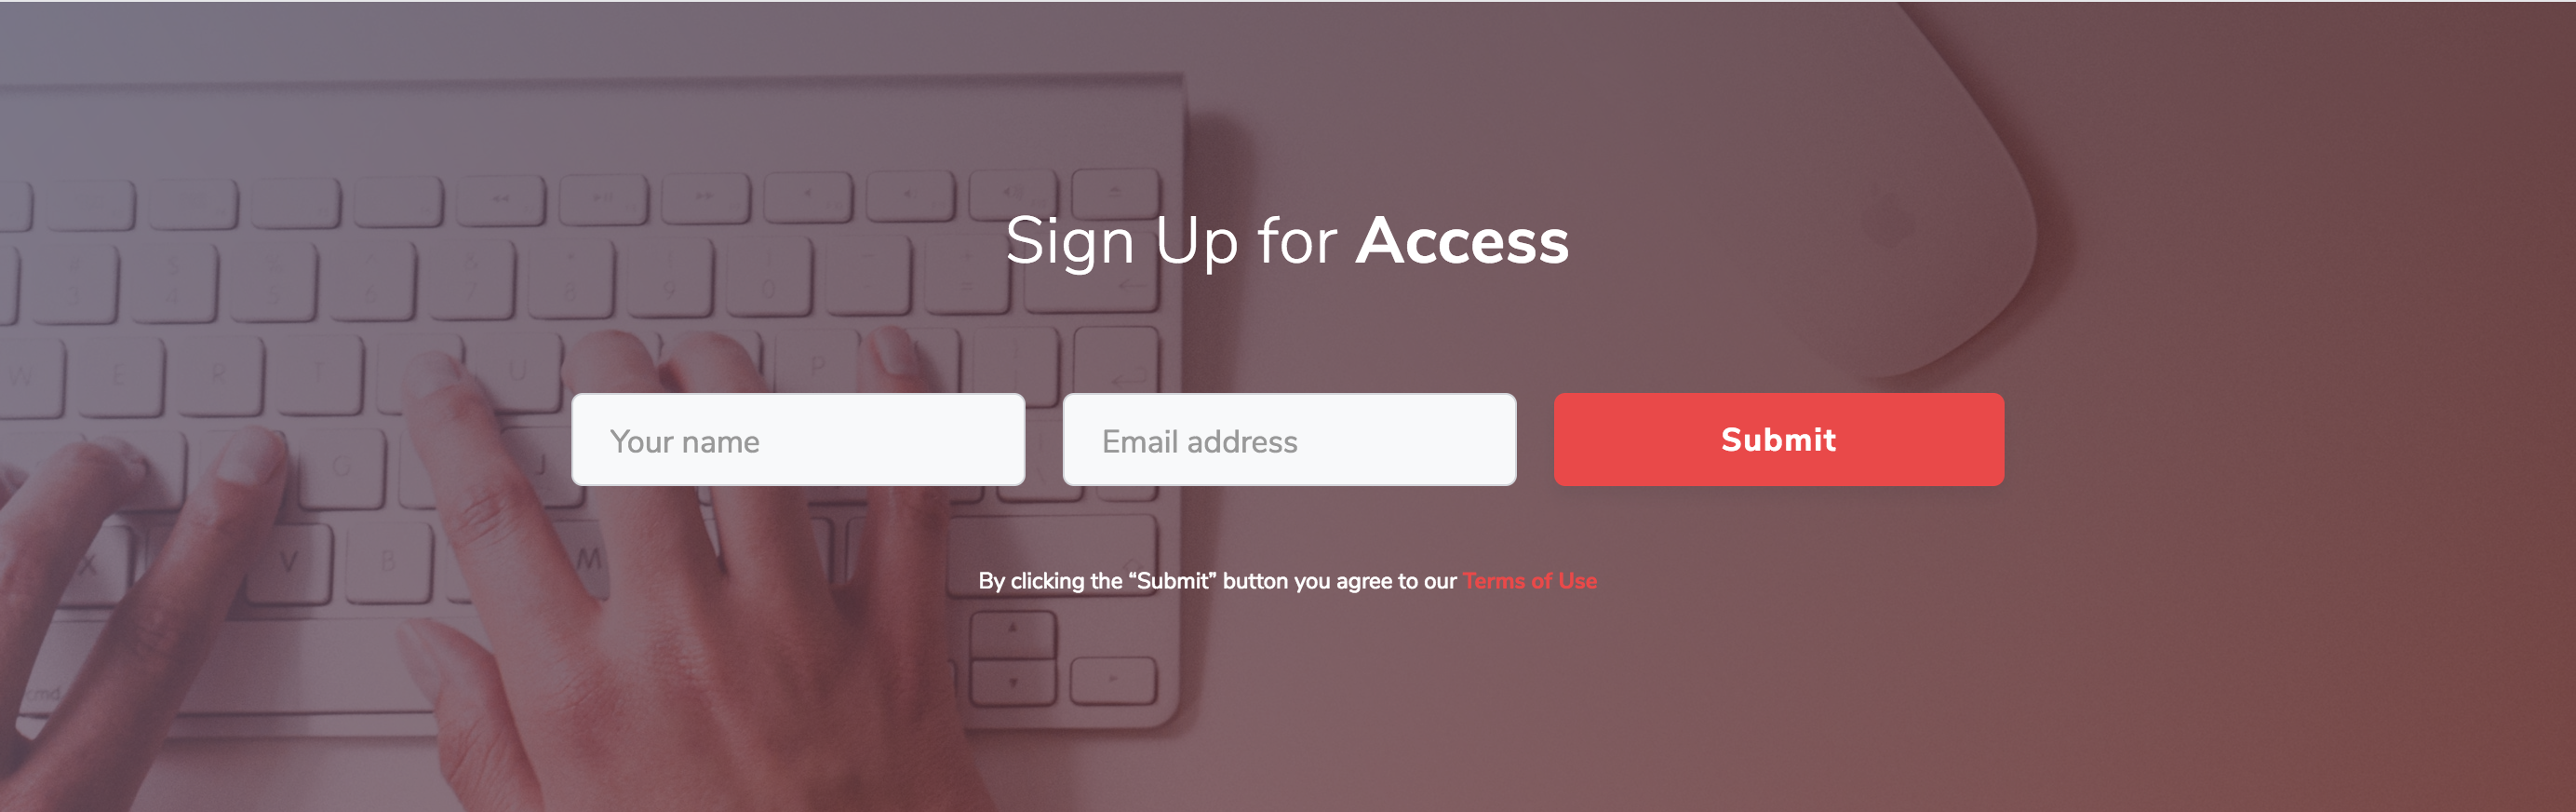
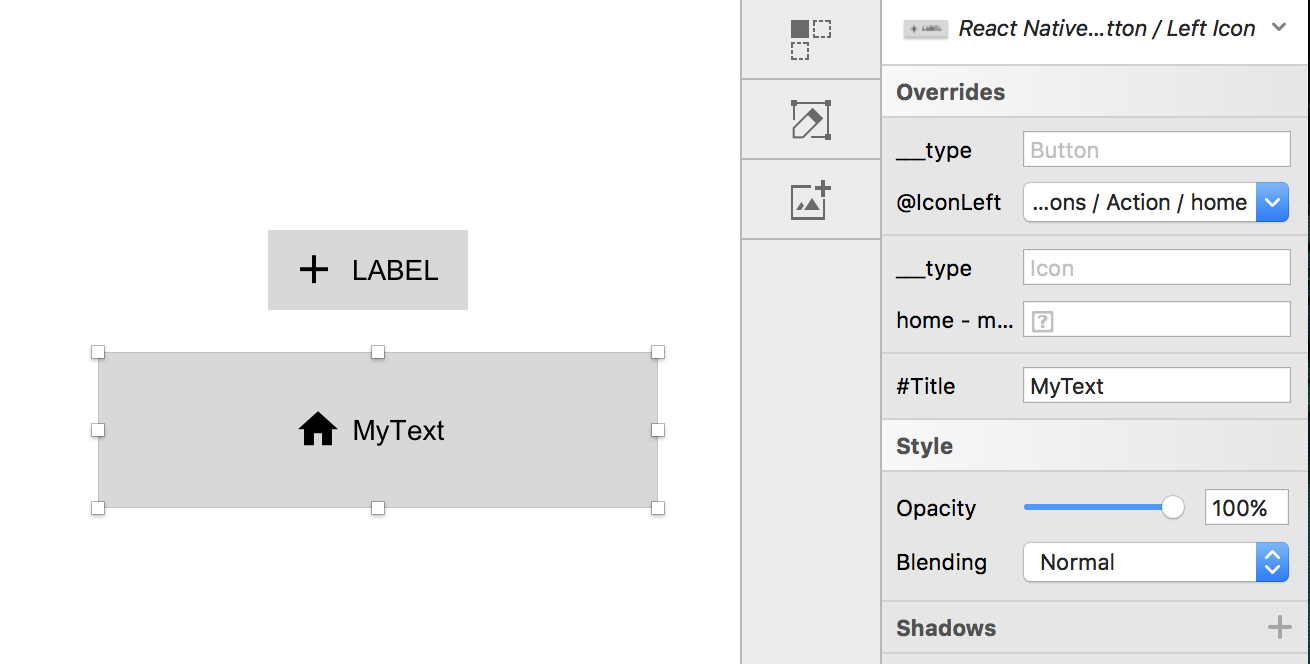
The symbols correspond with actual mobile components that will display the attributes that you set and render them in the live app. Symbols are highly customizable right out of the box. You can drag the corners to shape them into a custom size, override existing text, and replace icons with other icons from our libraries without affecting other instances of that symbol – all through the overrides panel on the right side of Sketch.
Note: Please do NOT update the fields beginning with "__", they are required when converting the symbol to the live application.
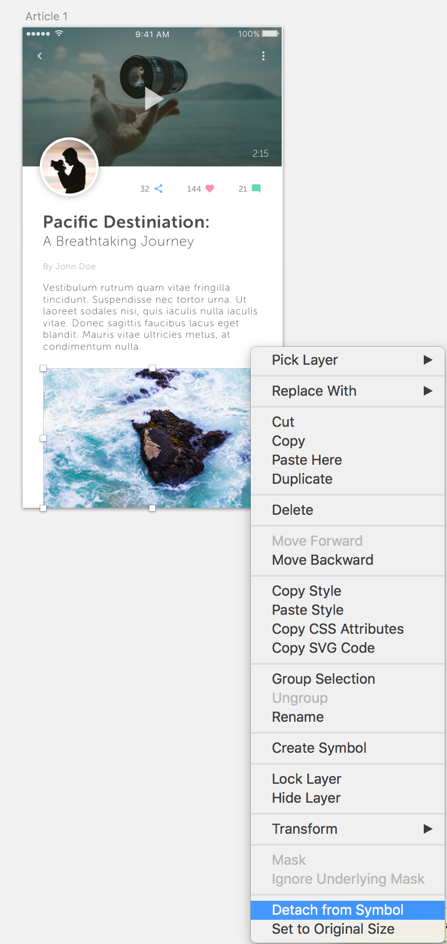
Things such as font, color, position, and many other attributes changes are currently supported through detaching the symbol instance. Simply right click the symbol instance and select Detach from Symbol. You can then treat it as any other group layer and change values as you wish.
Note: Not all attribute changes are supported yet, and please do NOT delete the hidden appchef folder, it is required when converting the symbol to the live application.
Create and duplicate artboards to create new screens as you usually would. Once you have your screens created you need you will need to link them together.
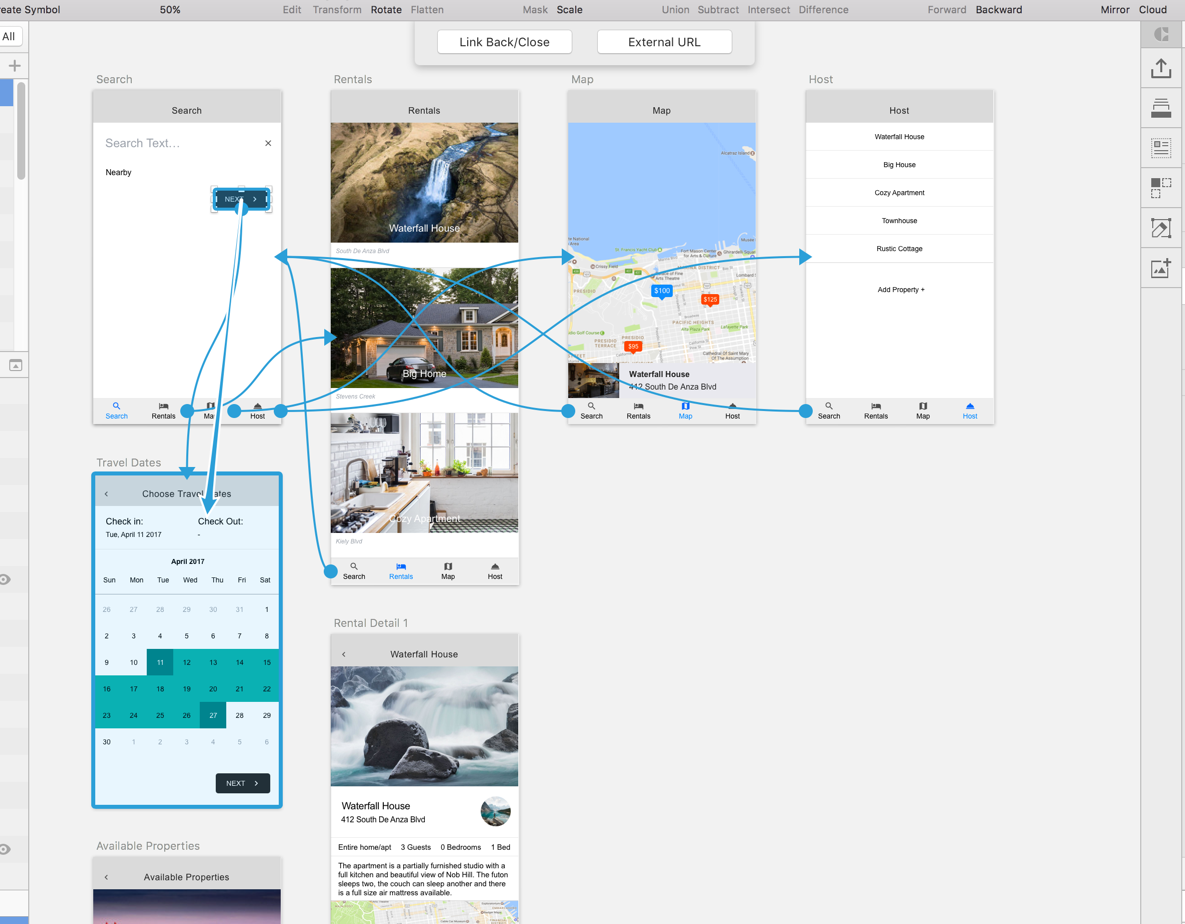
Simply select a component that you wish to use as a link (like a button) and using Sketch's "Link" button select one of the other pages on the artboard. This will create a link action when the component is clicked, will cause the page to transition to the destination page. In some component symbols, you may have to detach in order to select the layer or group that you wish to link.
Sketch v48 or earlier: This is where we utilize the Craft plugin’s prototype feature (You should see a lightning icon near the lower right hand corner). Simply select a component that you wish to use as a link (like a button) and hit lower case c on the keyboard and an arrow from the component will appear connected to your mouse pointer. From here, simply click on the screen you wish the component to link to and a line will appear showing the link. In some component symbols, you may have to detach in order to select the layer or group that you wish to link.
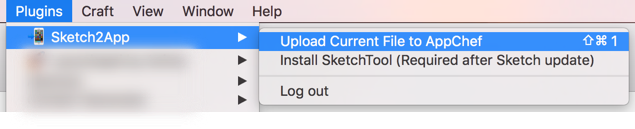
When you are satisfied with all the screens and have linked them all together, you can upload your designs through our plugin to our platform. It will ask you to enter you username and password. This will be the same credentials you use to log onto our portal. You must detach any symbols that include images or you will encounter an error when uploading the file.
Once the upload has completed, log onto the AppChef app from the Apple iOS App Store using your username and password from earlier and you will see the file under "My Projects". The name will reflect the name of the file you uploaded. Select the project you wish to view and open it by tapping on the launch icon on the right of the app name.
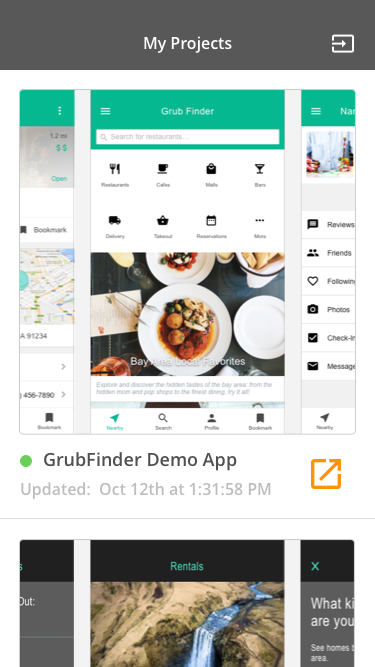
Congratulations, you now have a live front-end prototype on both iOS and Android!
Thanks for using AppChef, feel free to contact on Facebook, Twitter, Medium or email us at [email protected] if you have any questions or comments.